The last thing anyone needs in their yard is a tree that’s doing an impression of the Leaning Tower of Pisa, right? But jokes aside, something like this is a serious deal because of the potential damage and harm it could do to you, your property, your neighbors, wildlife, and so on. Maybe it’s due to strong wind, an awkward natural lean (yes, that can happen), or even just some serious bad luck, but taking it down the right way is key to avoiding a total disaster.
But really, the last thing you want is for it to crash basically anywhere that it shouldn’t even crash at, that’s the worst-case scenario that’s going to have a nightmare of consequences. But thankfully it doesn’t have to be like this until the tree just falls (and eventually it will). Actually, it just takes some careful planning and the right techniques, and yeah, you can take control and bring that tree down safely. Now where do you begin?
It’s All About Safety First
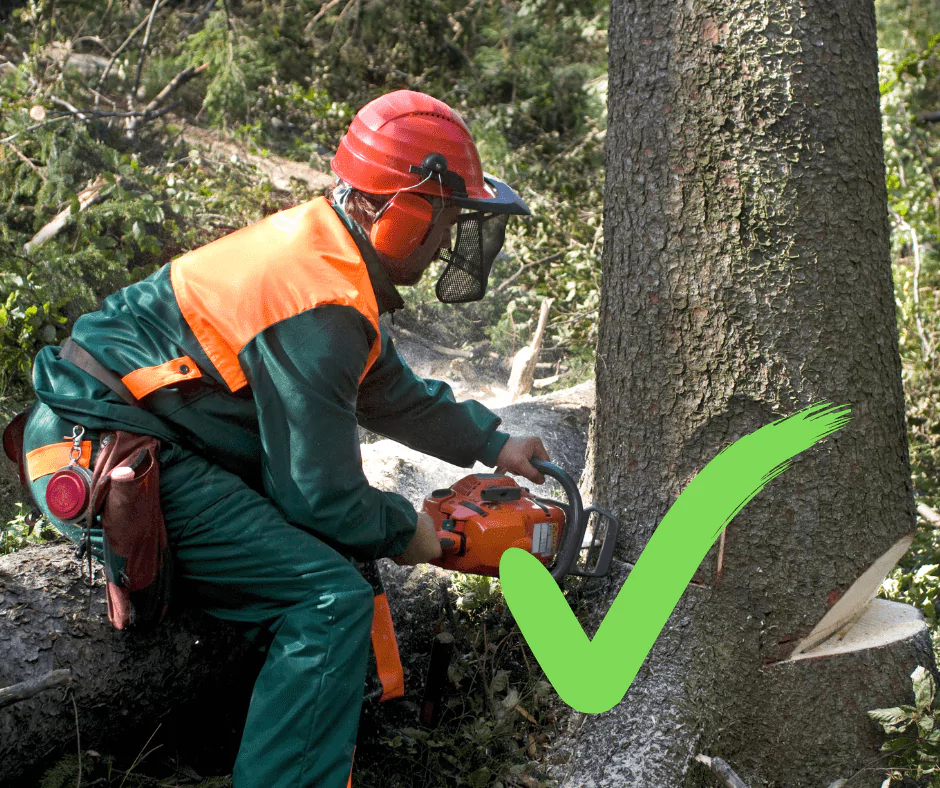
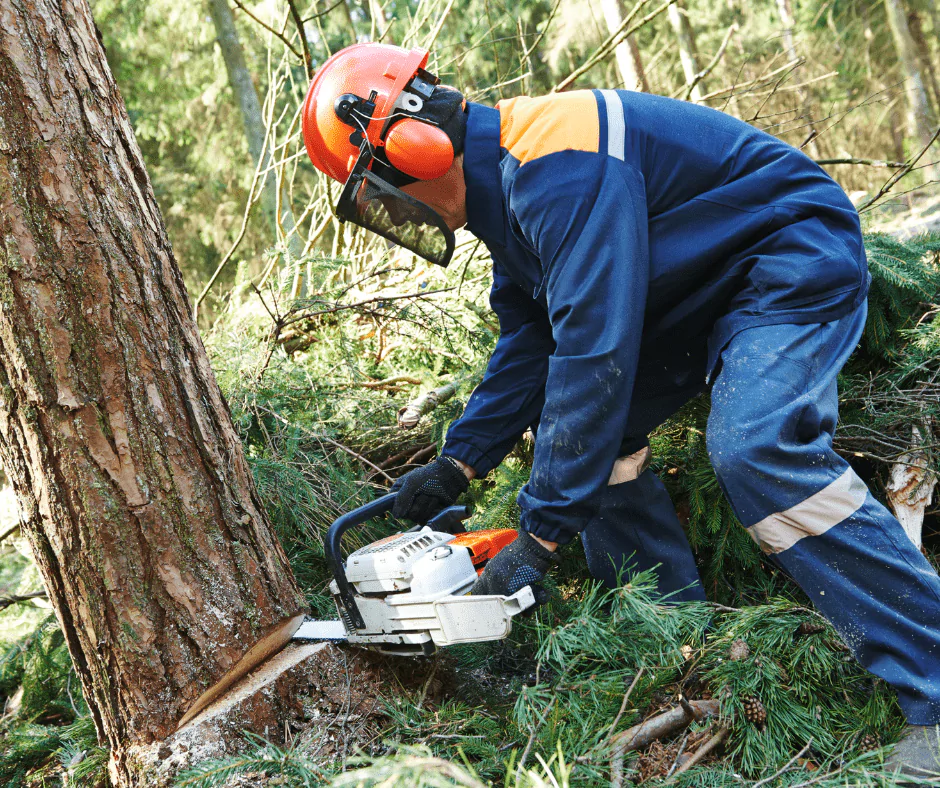
While there’s a bit of humor when it comes to people failing in those videos of chainsawing a tree, in reality, it’s something that you just don’t want happening to you. So, before you even think about revving up your chainsaw, it’s best to talk about safety first. Tree falling can go wrong in a split second, and there’s not much control once the tree is in mid-fall. You need to make sure you’ve got:
- Safety glasses: Because sawdust in your eyes is a recipe for pain and regret.
- A safety harness: If you’re climbing, gravity is not your friend.
- Gloves and protective gear: No one wants splinters.
- A chainsaw that actually works: Okay, this one is obvious, but there’s really nothing worse than getting halfway through and realizing your chainsaw just isn’t working anymore.
- Felling wedges: This is to help guide the intended direction of fall and avoid surprises.
- A pull rope: It’s about “steering” it in the right direction.
- A clear escape route: It’s not ideal, but there again, in a split second this could lead to disaster.
If the tree is anywhere near power lines, your house, or anything valuable, call a certified arborist or professional tree removal service. Seriously, there’s no shame in letting the pros handle it, especially if it means you avoid an emergency room visit.
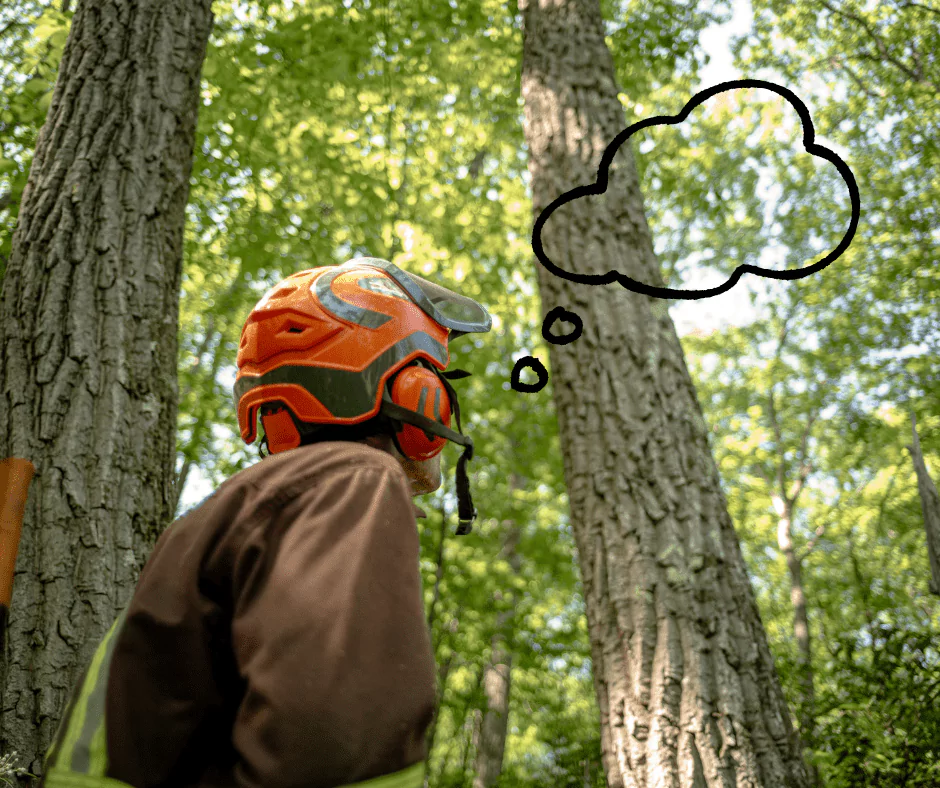
Step 1: Size It Up Before You Chop It Down
So, before you start using your chainsaw and hacking away at this, it’s going to be a pretty good idea to just go ahead and take a minute to size up the situation. You’re going to want to ask a few questions here.
- Which way is the tree leaning? (It’s usually falling that way too.)
- Are there dead limbs that could break off unpredictably?
- Is the ground stable, or could shifting soil cause problems?
- Are there nearby trees or obstacles that could get in the way?
- Do you actually have enough space for the tree to land safely?
If anything seems sketchy (just unsafe in general), then you have to reconsider. This really shouldn’t be a test of bravery!
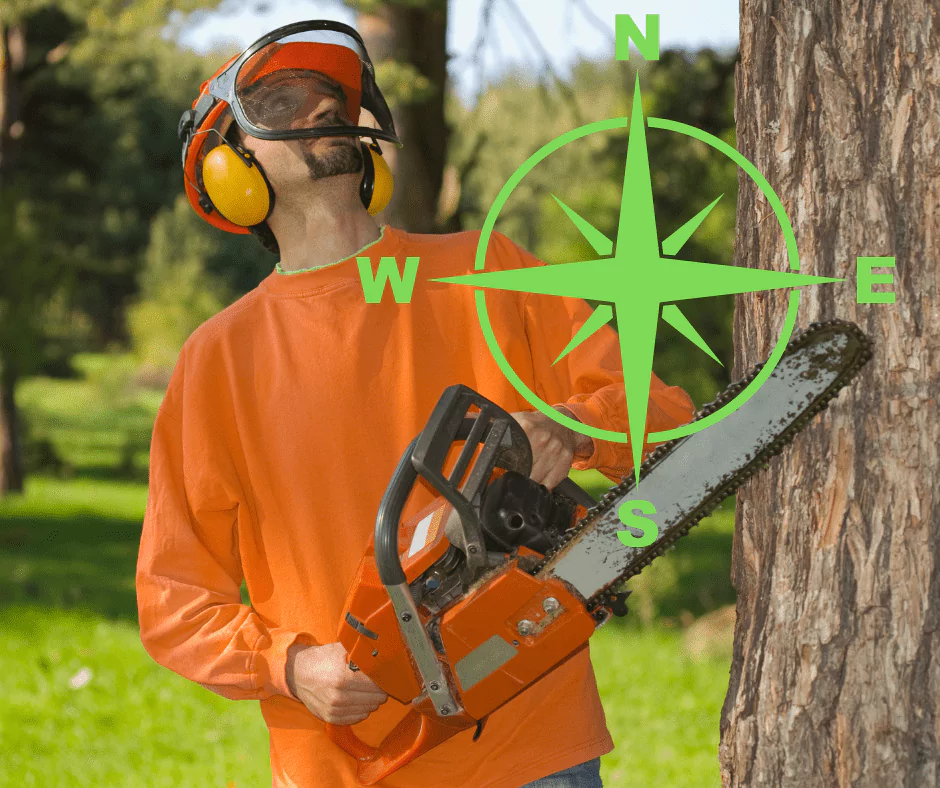
Step 2: Choose the Right Direction for the Fall
Okay, so you might think you can outsmart the natural lean, but it just doesn’t really work that way. Ideally, you’re going to want to fell the tree in the opposite direction of the lean. But only if it’s safe (and it might not always be safe). If the tree is already tilting where you want it to go, then great! You just made your life a bit easier.
Using felling wedges to guide the fall and double checking your escape is clear should be a part of the plan (but that was already mentioned above of course). But you need to remember one thing: trees have a mind of their own, so you need to be prepared for the worst-case scenario. Actually, just be prepared for anything!
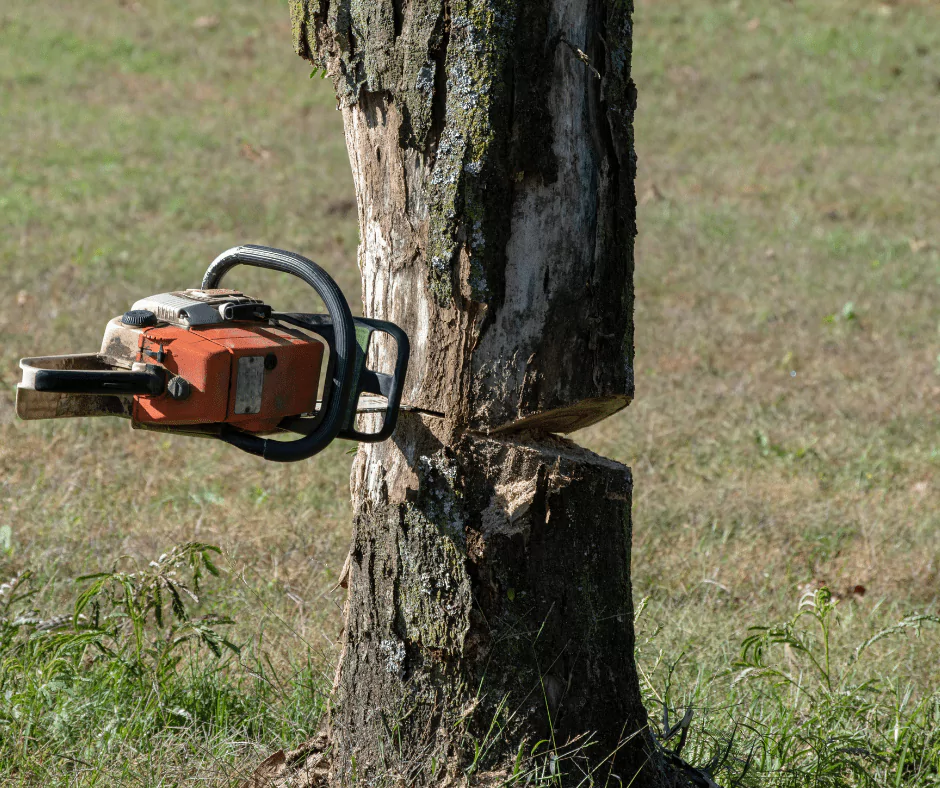
Step 3: Make the Notch Cut
You could pretty much call this step the “point of no return”, because that’s basically what it is. The notch cut is your way of telling the tree that it’s going down, but of course, it needs to be done the right way.
- First cut (Face Cut): You’ll need to make a 45-degree downward cut about 20-25% of the tree’s diameter deep on the side facing your intended fall direction.
- Bottom of the notch cut: After that, you’ll need to make a horizontal cut to meet the first cut, forming a wedge. But why? Well, this notch helps guide the tree’s fall.
- Step back and admire your work. Okay, it sounds great, but don’t get too comfortable, you’re just getting started!
Step 4: The Felling Cut
While step three was the point of no return, this is really where things get real! Oh yeah, this is where the magic and the danger happens! So here’s what you need to do!
- Make a horizontal cut on the opposite side of the notch cut, either level with or slightly above the notch’s apex.
- Leave a hinge of uncut wood fibers, this controls the fall and keeps the tree from just crashing down randomly.
- You should use a bore cut or plunge cut to reduce the risk of a barber chair cut ( fun sounding name, but this is where the tree splits unpredictably).
- Afterwards, you’ll need to insert the wedges to help guide the fall in the right direction.
But once the cut is made, things are going to start happening really fast, so just keep that in mind.
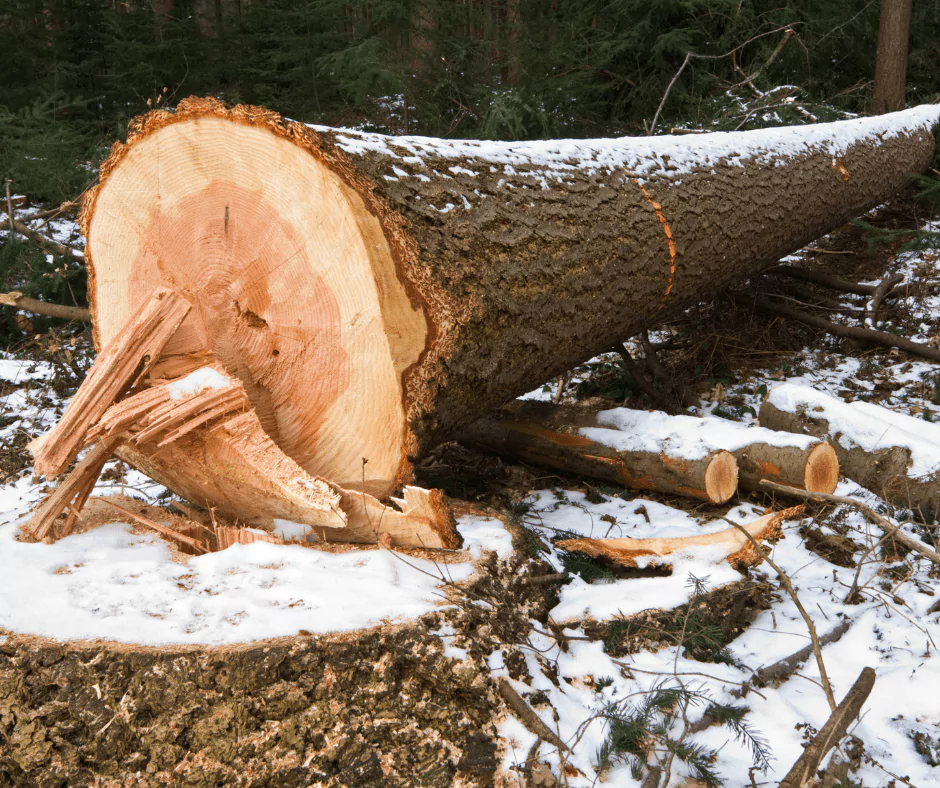
Step 5: The Tree is Starting to Fall
The previous sentence above just doesn’t put enough stress on this. But the second you hear that first cracking sound (and it’s going to sound pretty ominous), your free is officially on the way down. This is where it happens, and again, it’s going to happen fast. There might not be too much reaction time on your part because of how fast this is going to go.
- You need to MOVE quickly and safely along your escape route.
- Never turn your back on a falling tree, even if it’s going the direction you wanted.
- You’ll need to watch for last-minute surprises, like branches snagging on other trees r the tree shifting directions.
If things don’t go as planned and the tree gets stuck? In that case, jus call a professional tree service before you can do anything that can turn this bad situation into a worse one.

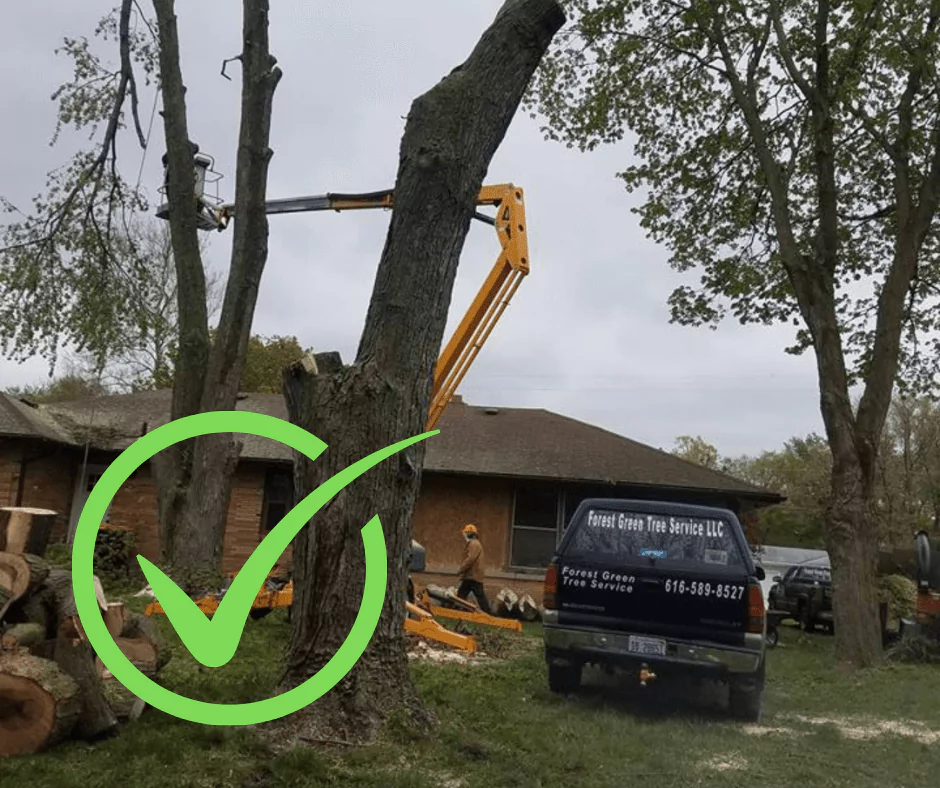
What if the Tree is Just Too Big or Dangerous?
Some trees just aren’t meant for DIY removal. So, if you have a massive tree, one that’s close to a power line, or it’s just in a really awkward spot, then don’t mess around. Instead, you’re better off getting an expert on your side. Actually, a certified arborist or tree surgeon has the tools, experience, and (most importantly) insurance to handle it properly.
The Best Way to Fell a Leaning Tree
Felling a leaning tree isn’t just about going full Paul Bunyan and swinging an axe. Sure, as cool as that sounds, it’s just not how it works (sadly). It takes a lot of careful planning, some precise cuts, and even a solid respect and understanding for physicals. So you need to follow the right steps that were mentioned above, that way, you’ll save yourself a world of trouble and just avoid becoming a cautionary tale.
So, if taking down a tall tree, fir tree, or oak tree feels like more than you want to handle, there’s no shame in calling in the pros. Actually, this way, it’ll be completely hassle-free for you! Need some help? Well, go ahead and contact Forest Green Tree Service for a free estimate and expert assistance in tree cutting, felling, and stump removal.
Just remember, safety first and ego second; and it really doesn’t matter if it’s a small tree, a big intimidating one, but doing it the way is the only way!